

Getting yourself a website is a big step in marketing your brand, but monitoring its performance and analyzing how to improve its ranking is another story.
If you have already done your research on how to track data on your website, you probably have come across Google Analytics. But what does this tool exactly do?
We’ll help you eliminate the guesswork by taking a closer look at Google Analytics – why you need it, how to set it up, and how you can make the most of it.
What is Google Analytics?
Google Analytics is a free website analysis service that allows you to measure the activity and performance of your website. As Google puts it, it gives you the “tools you need to analyze data from all touch points in one place, for a deeper understanding of the customer experience.”
You will find Google Analytics useful whether you own a website for personal or business purposes. Here are only some of the many critical questions you can answer by using this free tool:
- Who visits my website?
- Where do they live?
- What do they do on my website?
- When do they visit my website?
- How do they find my website?
- What content is read the most?
- How can I improve my website’s speed?
The list of the questions that Google Analytics can answer goes on — making you realize its usefulness and why you should never run your online business without it. Now that you know some of the many benefits, let’s find out how to get started.
QUICK GUIDE: How to Measure ROI in Social Media
How to Install Google Analytics
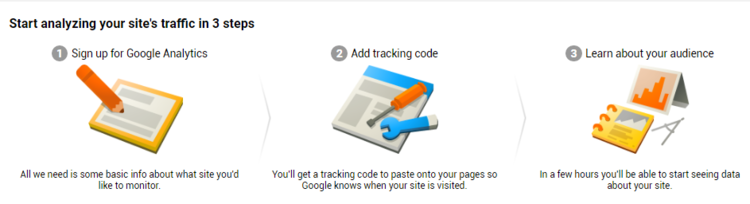
Setting up Google Analytics is easy. Basically, all you need to do is register your Google account for the service then enter a code in your website. It will allow Analytics to automatically collect data from your website and provide reports accordingly.
Here’s a step-by-step guide to get you started:
STEP 1: CREATE YOUR ANALYTICS ACCOUNT
- Go to Google Analytics page
- Click SIGN UP > Google Analytics
STEP 2: FILL-UP THE SIGN-UP FORM
- Click the SIGN-UP button to start creating your account
- Select WEBSITE for the account you would like to track
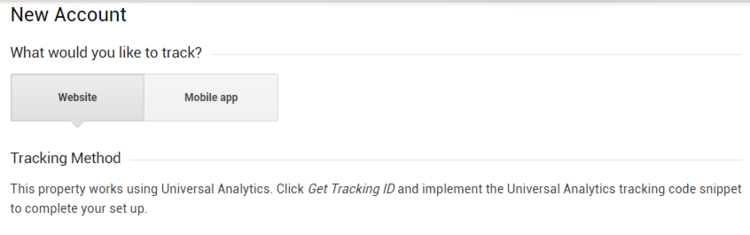
- Provide your website information
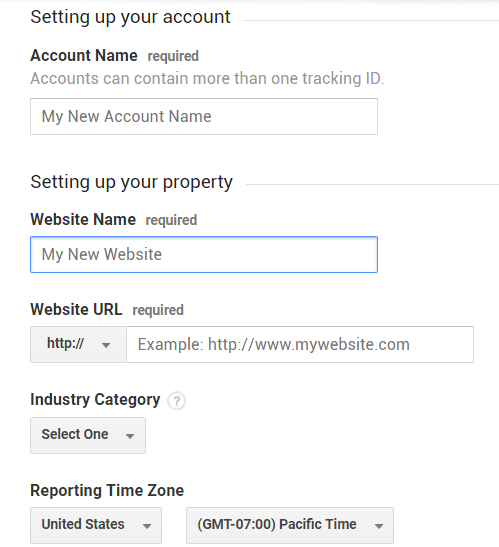
- Configure data sharing settings
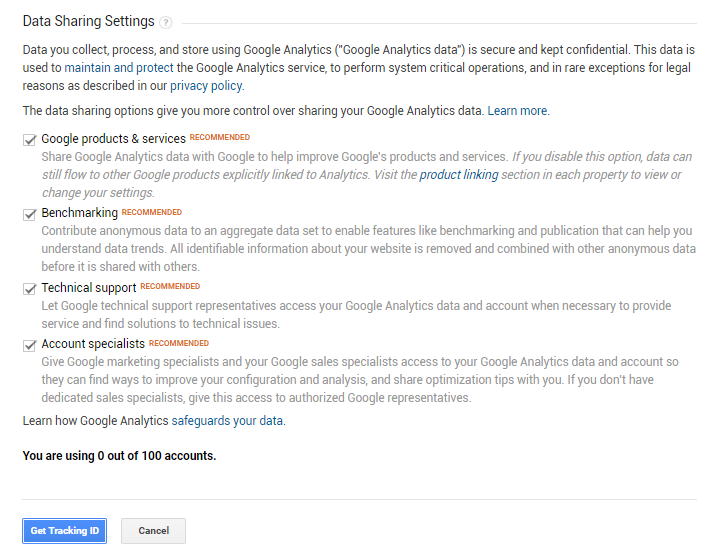
- Click GET TRACKING ID
NOTE: Once you click the button, you will be directed to a Terms & Conditions page which you will need to accept before you get your tracking code. Now, here comes the slightly complicated part: connecting your website to your Google Analytics account.
STEP 3: INSTALL YOUR TRACKING CODE
After accepting the agreement, you will be redirected to the tracking code page.
- Install the tracking code on every website page you want to track
NOTE: The installation of the code will depend on what type of website you use.
Installing on WordPress:
- Go to APPEARANCE > EDITORS
- Click the footer.php file and paste the code before the </body> tag
- It will automatically implement the code on every page of the website
How to Install Google Analytics on WordPress – 2018
If you need further help on installing Google Analytics or creating a WordPress website itself, a WordPress development company can assist you in creating your own website, especially particularly one with years of experience in web development, e-commerce development, and more.
Installing on HTML Websites:
- Manually add the code on every page
Installing on Drupal Websites:
- Go to HOME > ADMINISTRATION > CONFIGURATION > SYSTEM and add Google Analytics account number
Installing on Joomla Websites:
- Copy and paste code before the </body> tag in default.php file
Installing on Shopify Websites:
- Go to ONLINE STORE settings and paste tracking code
STEP 4: VERIFY INSTALLATION
- Go to the TRACKING CODE area to see if your tracking code is properly installed; or
- Visit your website and verify if your visit was recorded in the Real-Time reports
NOTE: It may take some time for Analytics to reflect that the tracking code is already installed.
Now you’re all ready to set up Google Analytics! You can set goals and discover the power of analytics!
Need help with your digital marketing strategy? Let us know how we can help you!